JFIF to JPG Print Size: Pixels, DPI and Paper Size
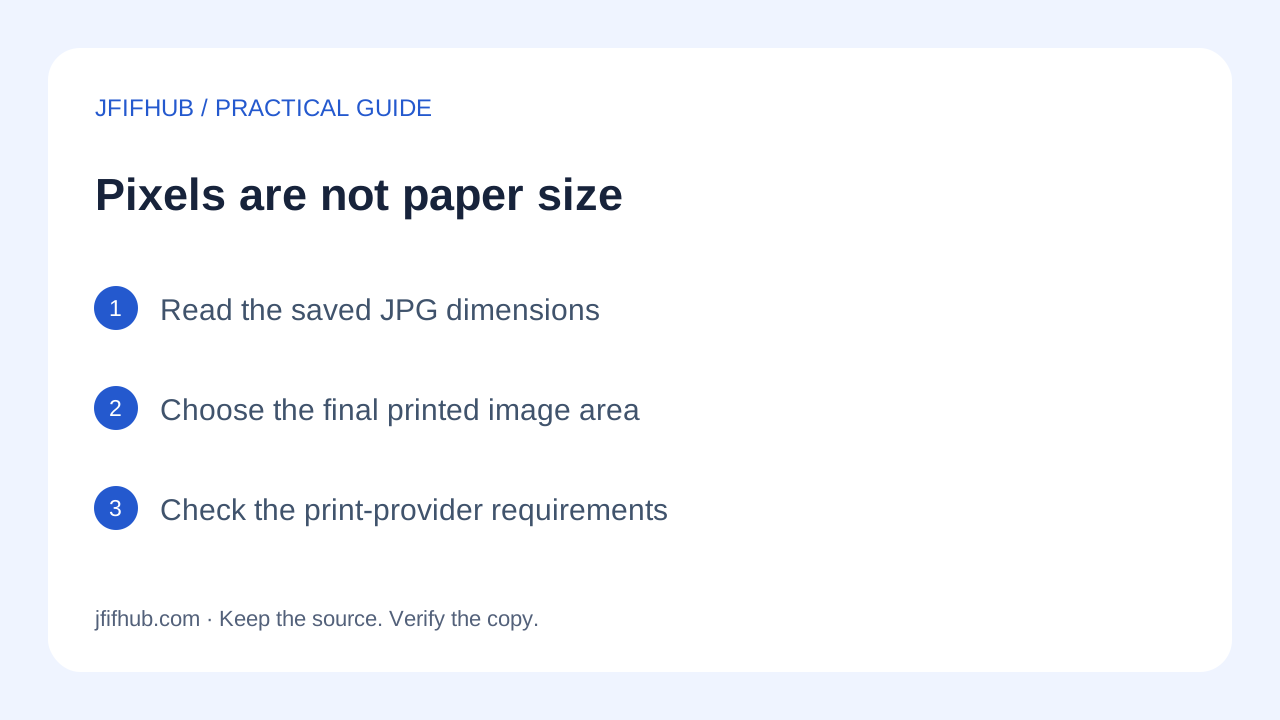
Converting JFIF to JPG does not automatically prepare a photo for a particular paper size. Check the downloaded image dimensions, choose a physical print size, and calculate pixels per inch. A changed DPI label alone does not add picture detail.
Open the JFIF to JPG converter
Separate picture dimensions from a density label
Browser canvas export can write resolution metadata. MDN documents a 96 dpi value for formats that support that metadata. This is a documented export behavior, not a measurement of every JfifHub download. The homepage does not offer a print-density setting.
The current converter draws the decoded image into a canvas sized from the browser's natural width and height, then exports JPEG. It does not contain a paper-size selector or a resizing control. Browser natural dimensions are density-corrected and can be affected by browser interventions, so check the saved file rather than assuming its dimensions from the source filename.
Work backwards from the print you need
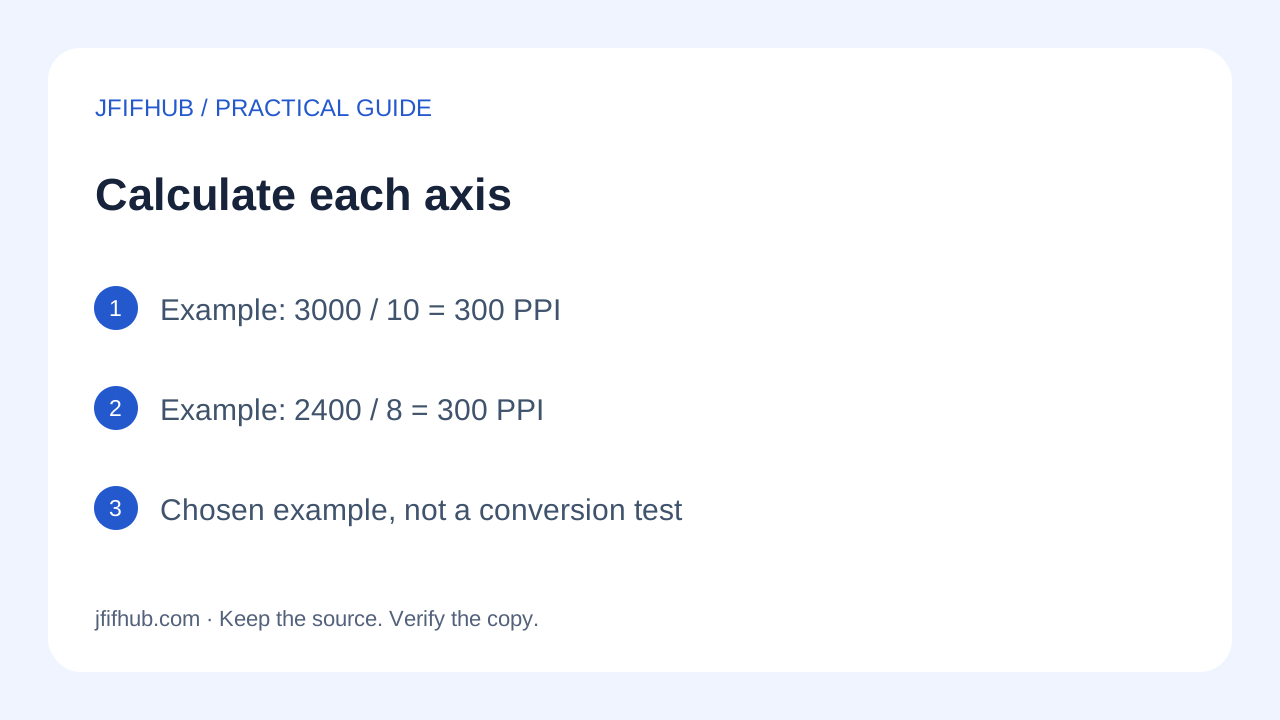
Use this calculation independently for the horizontal and vertical axes: effective pixels per inch = pixel dimension divided by printed dimension in inches. Conversely, printed inches = pixel dimension divided by your chosen pixels-per-inch target. Get that target from the print provider; this page does not promise a universal minimum for acceptable prints.
For an illustrative image of 3,000 by 2,400 pixels, a 10 by 8 inch print gives 3,000 / 10 = 300 pixels per inch horizontally and 2,400 / 8 = 300 vertically. The image dimensions and paper size here are chosen examples, not measured conversion results. If you instead print the same pixels at 20 by 16 inches, each axis becomes 150 pixels per inch. No new pixels have been created by choosing a larger sheet.
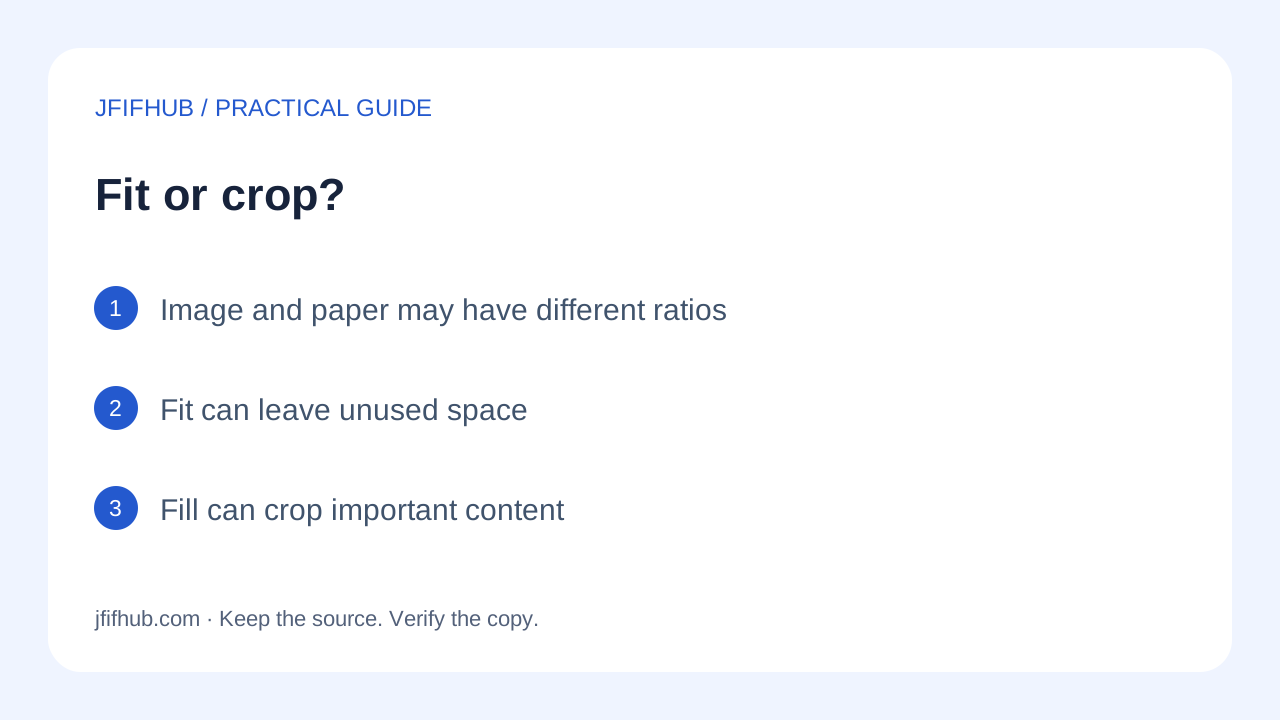
The aspect ratio matters too. The example's ratio is 3,000 / 2,400 = 1.25, matching 10 / 8. A square print has a different ratio. You must choose between cropping some content and fitting the whole image with unused space. Changing the filename from JFIF to JPG cannot make that decision for you.
A practical print handoff checklist
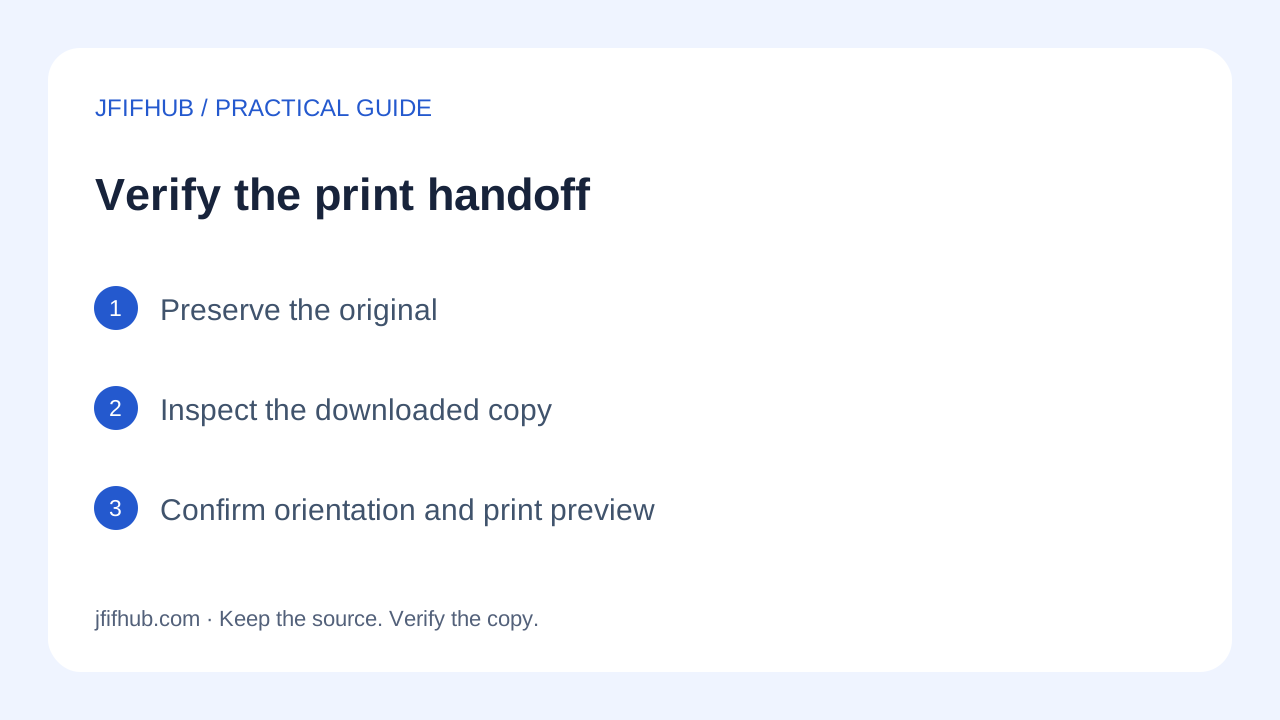
- Keep the untouched source. Convert a copy through the homepage and download it before comparing file properties.
- Open the saved JPG in an image viewer or editor that reports pixel width and height. Record those values alongside the intended print width and height.
- Ask the print service whether it crops to fill or fits the entire image. Check the preview for cut-off faces, text and borders.
- Calculate effective pixels per inch for the final occupied image area, not automatically for the full sheet. Borders can make those two areas different.
- If the service requires a specific density metadata value, use an editor that supports it. Distinguish changing a density label from resampling the pixels.
- Check portrait orientation and the final print preview. Do not rely on the export's file size as a sharpness certificate.
If a preview looks soft, determine whether the service is showing a reduced preview before repeating the conversion. Re-exporting repeatedly does not recover lost source detail. If the original lacks enough pixels for the requested size, consider a smaller print rather than treating the Highest setting as enlargement.
Common printing questions
Does 96 dpi mean my photo is only suitable for screens?
No conclusion about suitability follows from the label alone. Work out the available pixels at the intended physical size and follow the printer's requirements.
Can I set 300 dpi in JfifHub?
The current homepage has output extension and JPEG quality controls, not a density field. Use a suitable editor for a print provider's metadata requirement, then check whether it resampled the image.
Why did the expected print size change?
Compare pixel dimensions and density metadata separately. A program can interpret a new density value as a different default physical size even when the picture's pixel dimensions stay unchanged. The actual print preview is the final check.
The workflow in four pictures
References: MDN: canvas export resolution; MDN: natural image width. Published October 11, 2026. Instructions and calculations are scoped as stated; no universal conversion or recovery guarantee is claimed.