Export an iPhone JFIF Photo as JPEG
If a service rejects an iPhone photo ending in .jfif, make a JPEG copy rather than changing the only original: in iPhone Preview, open the image and use Export to choose JPEG if that option is available. Or open JfifHub in Safari, choose the JFIF image, select JPG, convert, and save the result. Then check the saved filename and confirm the receiving service accepts it. Apple documents JPEG export from Preview; this guide does not claim that every iPhone or iOS version opens every JFIF file.
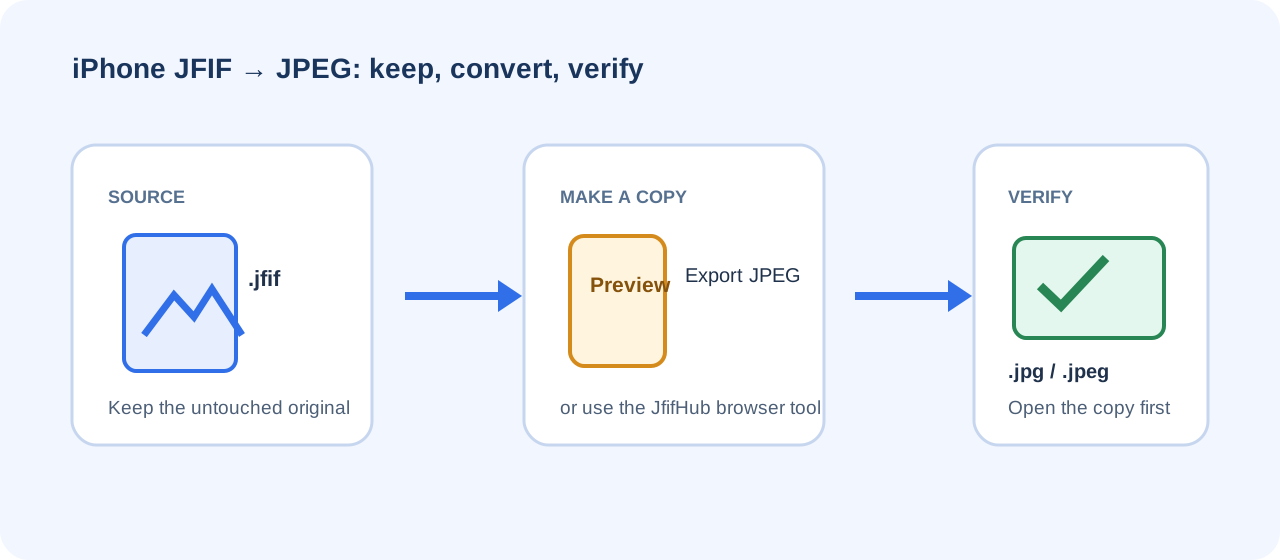
Choose a route based on what opens
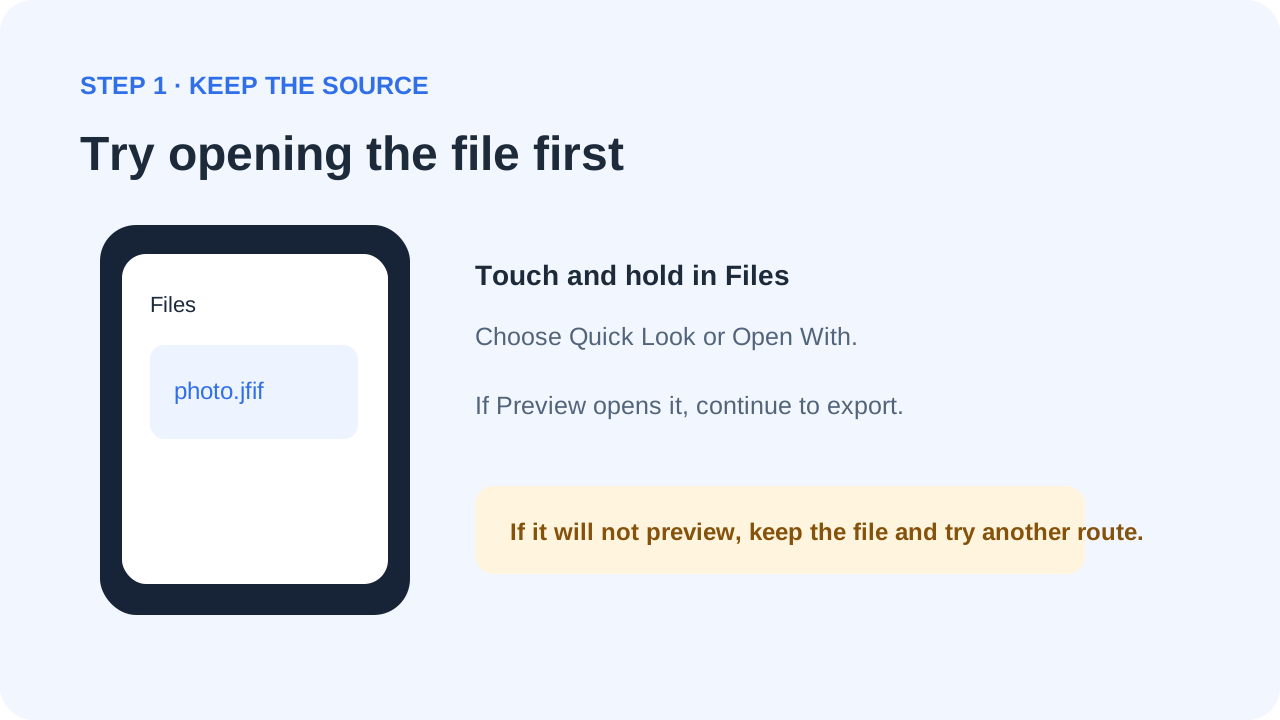
Apple's iPhone documentation says Preview can export an image as JPEG. The Files app can preview image files with Quick Look and can let you choose another installed app with Open With. But Apple also warns that some older or specialized media formats may not work in every app. The support pages do not specifically promise that every JFIF file will open in Preview, so treat successful opening as the first check.
Route A: use iPhone Preview when the file opens
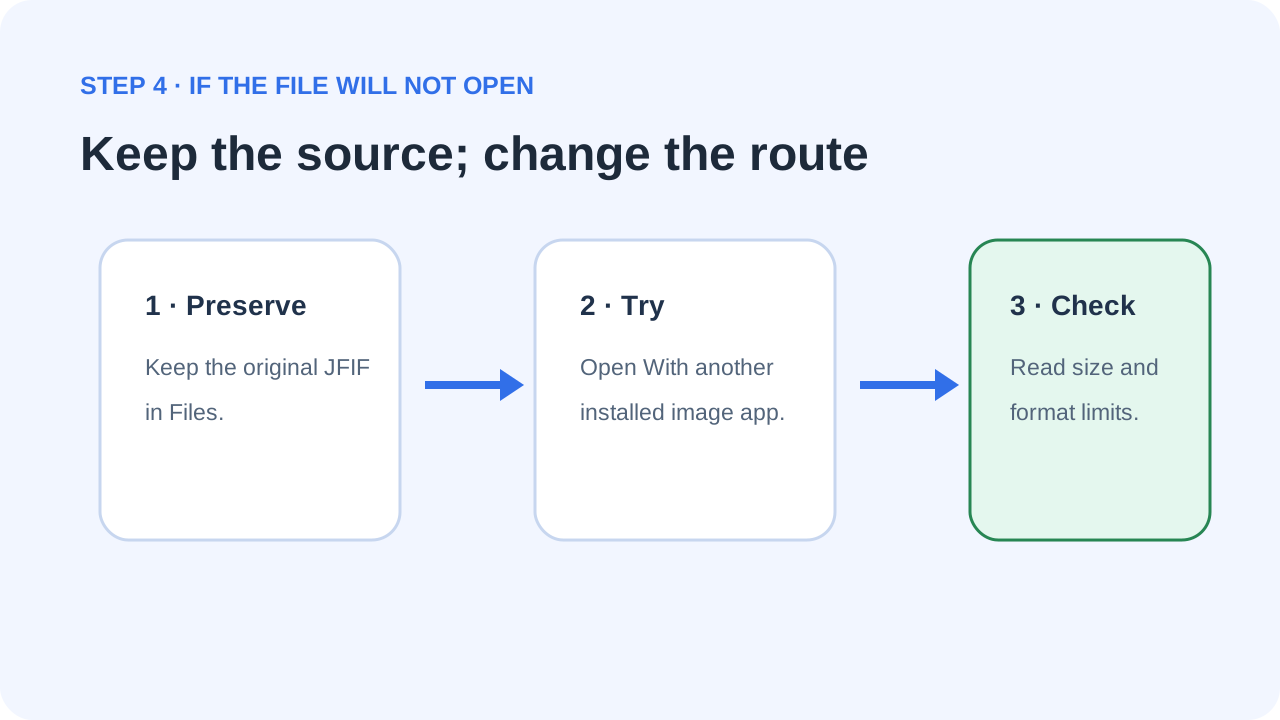
- Keep the downloaded .jfif file in Files. Touch and hold it, then choose Preview with Quick Look or Open With and select an installed image app.
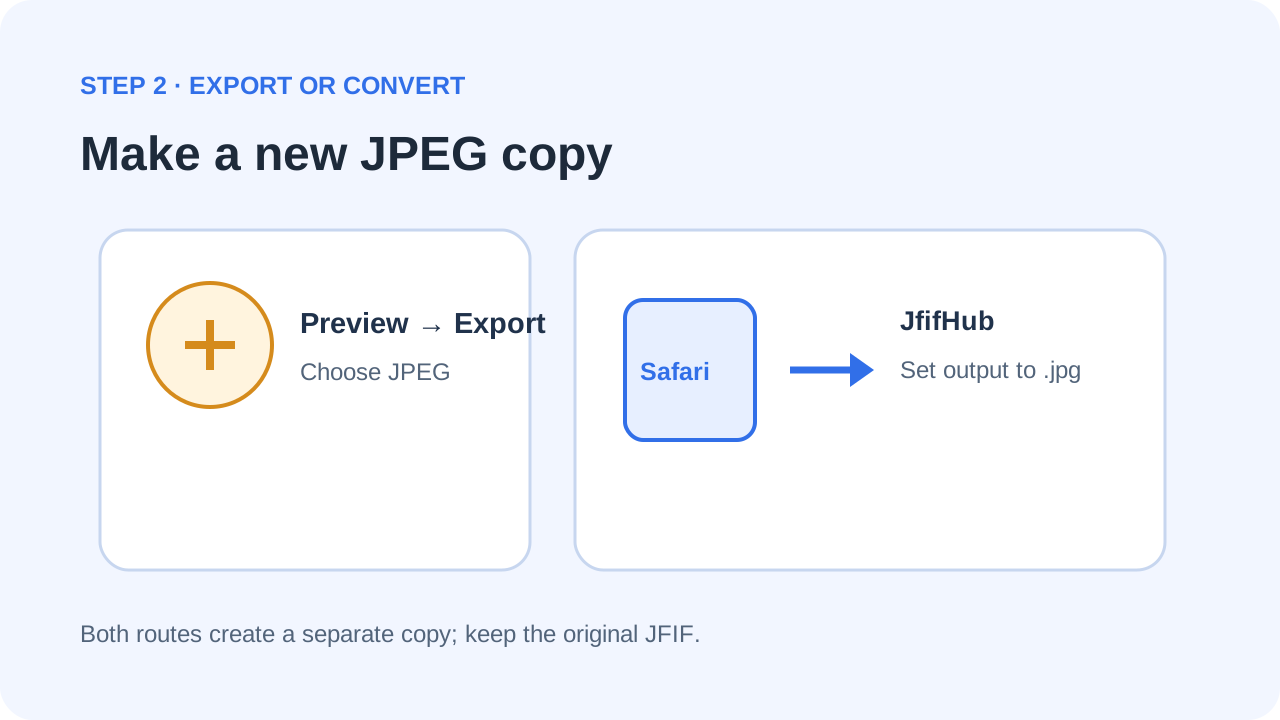
- If Preview opens the image, use its Export action and choose JPEG. Save it as a new file so the original remains available.
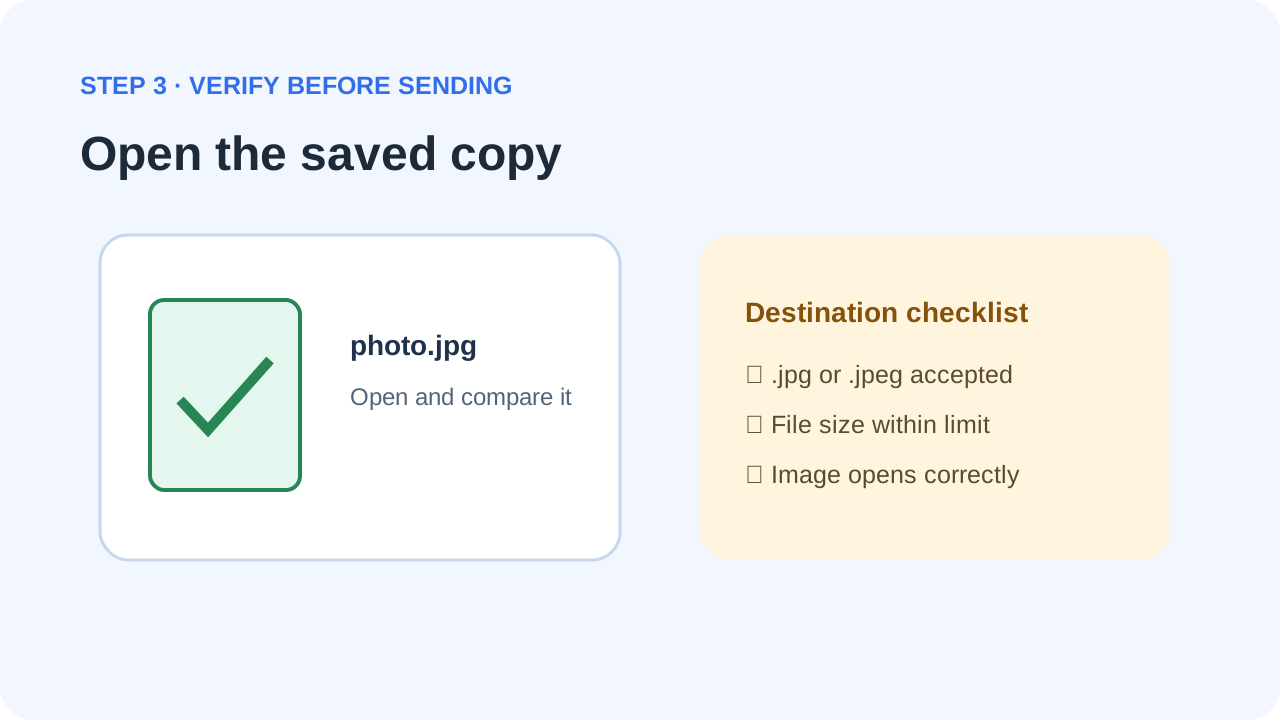
- Open the exported copy. Check that it displays correctly and ends in .jpg or .jpeg before attaching it to the print or upload form.
Apple's documented export formats include JPEG, but its documentation does not guarantee a particular menu label, JFIF input support, or result on every iPhone software version. If Preview will not open the file, do not keep retrying the same action; use Route B or ask the destination which image types it accepts.
Route B: convert in Safari
- Open the JfifHub converter in Safari and choose the image from Files or Photos.
- Set output to .jpg and convert. JfifHub performs its conversion in the browser; no file is sent to JfifHub's server.
- Save the downloaded result, open it once, and confirm the destination accepts .jpg or .jpeg before submitting.
Renaming only changes the filename suffix. It does not change the file's encoded image data. Use an export or conversion when the receiving form specifically requires a JPEG file, and keep the original JFIF until the replacement works.
Before sending it to a printer or website
- Check the required extension and maximum file size on the destination form.
- Open the new JPEG copy and compare it visually with the original.
- If the service still rejects it, check whether the file is incomplete or the service has a size or dimension limit; an extension change alone will not resolve those issues.
- For sensitive pictures, choose a conversion route you trust and read that app's privacy details.
Questions
Does iPhone Preview always open JFIF?
No universal promise is made here. Apple documents Preview's image export to JPEG and Files' image preview features, while also noting that some formats may not work in every app. Test the specific file.
Should I rename .jfif to .jpg?
Only if the receiving application accepts the unchanged image data under a new name. If it requires an exported JPEG, use Preview's JPEG export or a converter, and preserve the source.
Why might the new file still be rejected?
The destination may have a size, dimension, or content requirement beyond the extension. Read its upload instructions and check the saved copy opens before submitting it again.
Primary references: Apple: export or compress PDFs and images in Preview on iPhone; Apple: view files and images in Files and Quick Look; Apple: when a media file does not open. Firsthand public question that motivated the print-service case: r/techsupport: iPhone photos saved as JFIF were rejected by a print system. That post is one user's case, not evidence that all iPhones save or handle files the same way.